


-31%
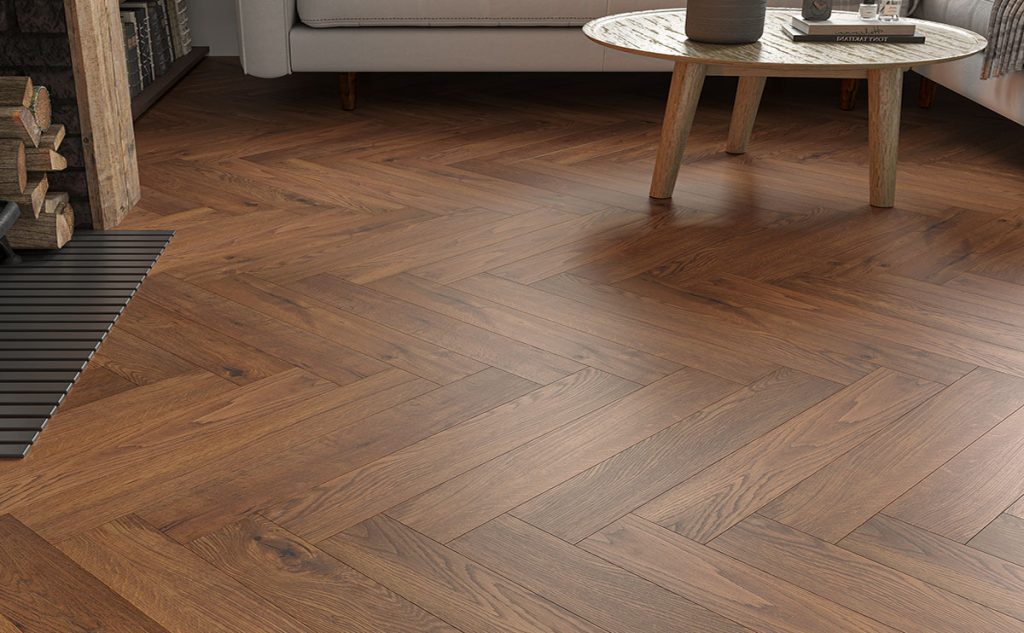
Honey Glazed Oak Herringbone, Brushed & UV Lacquered – 120mm x 15mm Engineered Parquet Wood Flooring
Original price was: £70.99.£48.99Current price is: £48.99. m²

-28%
Original price was: £59.99.£42.99Current price is: £42.99. m²

-32%
Invisible Raw Oak Herringbone, Brushed & UV Lacquered – 90mm x 15mm Engineered Parquet Wood Flooring
Original price was: £73.99.£49.99Current price is: £49.99. m²

-30%
Original price was: £66.99.£46.99Current price is: £46.99. m²

-26% Extra Off
Original price was: £64.99.£47.99Current price is: £47.99. m²

-29%
Original price was: £64.99.£45.99Current price is: £45.99. m²

-30%
Original price was: £70.99.£49.99Current price is: £49.99. m²

-30%
Original price was: £70.99.£49.99Current price is: £49.99. m²
Related Posts

Herringbone Laminate Flooring Installation Guide
Installing laminate herringbone flooring is straightforward with careful planning. Follow clear steps for a stable, well-aligned and professional finish.

Glue-Down Luxury Vinyl Flooring (LVT) with Underfloor Heating
Considering glue-down LVT with underfloor heating? This guide explains how it performs, what preparation is required, and the temperature limits that must be followed.

PEFC Flooring: What Most Homeowners Get Wrong — And What Really Matters When Choosing Sustainable Wood
Sustainable flooring isn’t just about a logo on the box. We break down common PEFC myths and what homeowners should really look for.

Caring for Wood Flooring – Engineered & Solid Wood Maintenance Guide
Wood floors age best with the right care routine. Learn how to maintain engineered and solid wood without damaging the finish.

What is Parquet Flooring? Types Explained (Plus Real-Life Tips)
Parquet flooring comes in more styles than most people realise. Explore popular patterns and practical tips before choosing.

Factors Influencing Engineered Wood Flooring Costs
Engineered wood flooring prices vary for good reason. Understand what affects cost—from construction to finishes and materials.
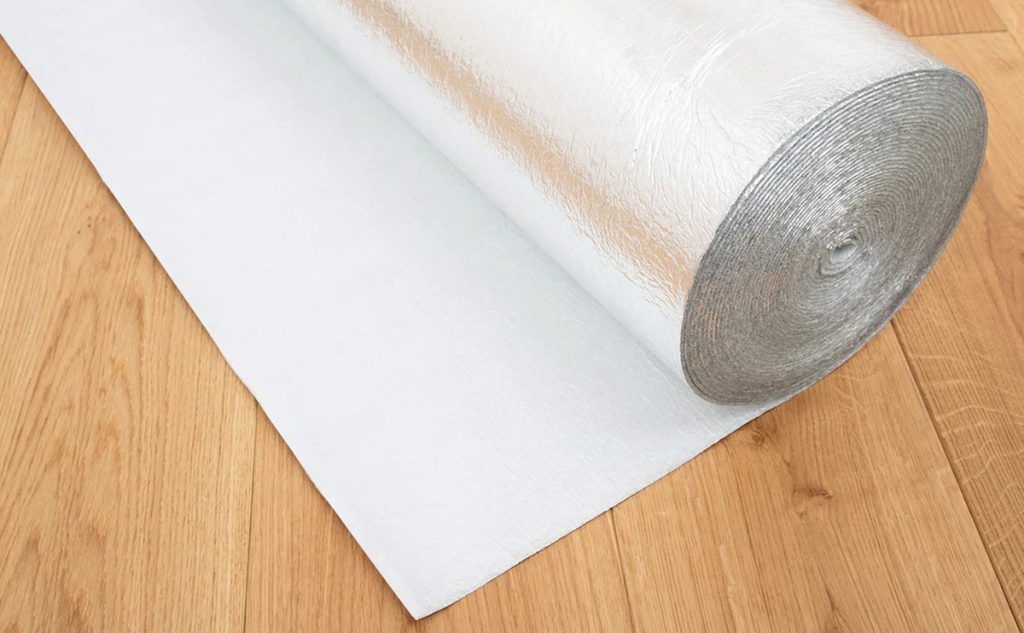
Flooring Underlay: Types, Benefits, and Installation Tips
Underlay plays a bigger role than many expect. Learn which type to use and how it improves comfort and performance.
Laminate vs Alternatives: Which Flooring Is Right for You?
Laminate competes with wood, vinyl, and tile. Compare popular flooring options based on lifestyle, budget, and room type.

Versailles Wood Panels Installation Guide: How to Lay Parquet Panels
Learn how to install Versailles panels correctly, including layout guidance, preparation, and fitting techniques.

Subfloor Preparation Guide: How to Prepare Floors for Wood, Laminate & LVT
Most flooring problems start below the surface. Learn why proper subfloor preparation is essential for long-term performance.

How Long Does Wood Flooring Last? Unlocking the Secrets of Timeless Wooden Floors
Wood flooring can last for decades when chosen wisely. Learn what affects lifespan for solid and engineered boards.

SPC Flooring and Underfloor Heating: Compatibility, Installation & Temperature Limits
Thinking about SPC with underfloor heating? Learn how it performs, what to check, and what limits apply.
 White
White
 Invisible
 Natural
 Golden
 Brown
Brown
 Grey
Grey
 Black
Black
