

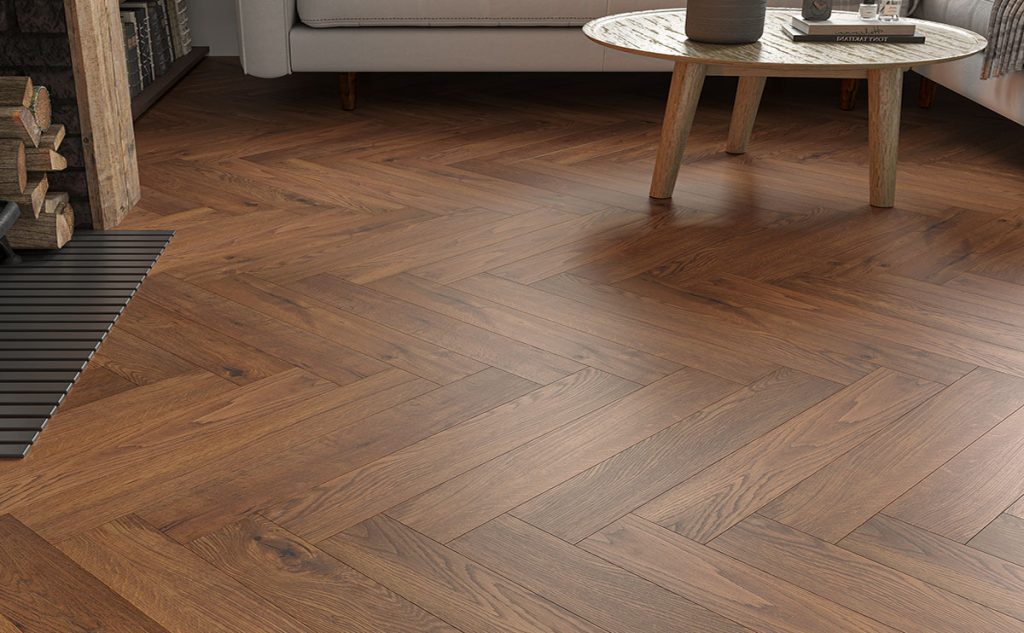
Click LVT (SPC) Herringbone Flooring Installation Guide


-34% 
Original price was: £40.99.£26.99Current price is: £26.99. m²

-42%
Original price was: £54.99.£31.99Current price is: £31.99. m²

-62% Clearance
Original price was: £54.99.£20.99Current price is: £20.99. m²

-37%
Original price was: £51.99.£32.99Current price is: £32.99. m²

-34%
Original price was: £40.99.£26.99Current price is: £26.99. m²

-34%
Original price was: £40.99.£26.99Current price is: £26.99. m²

-34%
Original price was: £40.99.£26.99Current price is: £26.99. m²

-37%
Original price was: £51.99.£32.99Current price is: £32.99. m²
Related Posts

Herringbone Laminate Flooring Installation Guide
Installing laminate herringbone flooring is straightforward with careful planning. Follow clear steps for a stable, well-aligned and professional finish.

LVT Flooring Care & Maintenance Guide (SPC & Glue-Down)
Learn how to clean and maintain LVT flooring properly, with clear guidance for both SPC click and stick-down vinyl floors.

What is Parquet Flooring? Types Explained (Plus Real-Life Tips)
Parquet flooring comes in more styles than most people realise. Explore popular patterns and practical tips before choosing.

Comparing SPC LVT Click vs. Traditional Flooring
SPC click flooring is often compared to traditional options. See how it stacks up for durability, comfort, and everyday use.
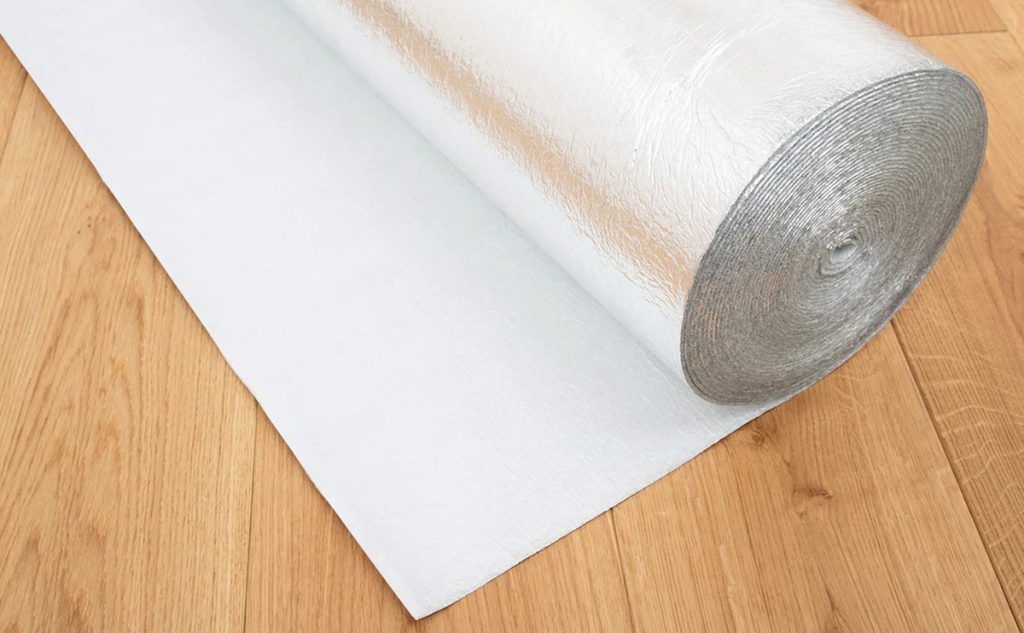
Flooring Underlay: Types, Benefits, and Installation Tips
Underlay plays a bigger role than many expect. Learn which type to use and how it improves comfort and performance.
Laminate vs Alternatives: Which Flooring Is Right for You?
Laminate competes with wood, vinyl, and tile. Compare popular flooring options based on lifestyle, budget, and room type.

The Rise of Luxury Vinyl Flooring: What Makes It So Popular?
Luxury vinyl flooring has surged in popularity across UK homes. Discover why SPC and LVT are now go-to flooring choices.

Versailles Wood Panels Installation Guide: How to Lay Parquet Panels
Learn how to install Versailles panels correctly, including layout guidance, preparation, and fitting techniques.

Subfloor Preparation Guide: How to Prepare Floors for Wood, Laminate & LVT
Most flooring problems start below the surface. Learn why proper subfloor preparation is essential for long-term performance.

Why SPC Rigid Vinyl Flooring is the Ultimate Choice for Modern Kitchens: A Durable LVT Option
Kitchens need flooring that can handle daily wear. Discover why SPC rigid vinyl is a popular choice for modern kitchens.

SPC Flooring and Underfloor Heating: Compatibility, Installation & Temperature Limits
Thinking about SPC with underfloor heating? Learn how it performs, what to check, and what limits apply.

Underfloor Heating with Engineered Wood Flooring
Engineered wood can work beautifully with underfloor heating—when done right. Learn about thickness, temperature limits, and installation tips.
 White
White
 Invisible
 Natural
 Golden
 Brown
Brown
 Grey
Grey
 Black
Black
