

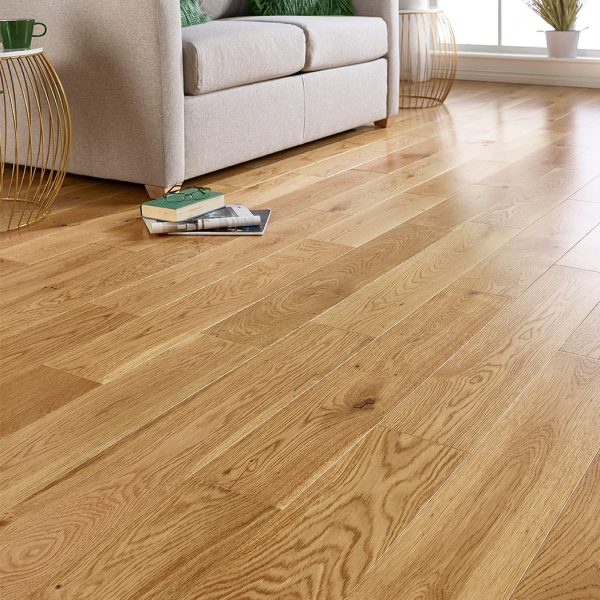
Solid Wood Flooring Installation: Nail-Down & Glue-Down Guide


-30%
Original price was: £83.99.£58.99Current price is: £58.99. m²

-26%
Original price was: £67.99.£49.99Current price is: £49.99. m²

-27%
Original price was: £69.99.£50.99Current price is: £50.99. m²

-25%
Original price was: £67.99.£50.99Current price is: £50.99. m²

-25%
Original price was: £67.99.£50.99Current price is: £50.99. m²

-21%
Original price was: £60.99.£47.99Current price is: £47.99. m²

-23%
Original price was: £64.99.£49.99Current price is: £49.99. m²
-28%
Original price was: £67.99.£48.99Current price is: £48.99. m²
Related Posts

Glue-Down Luxury Vinyl Flooring (LVT) with Underfloor Heating
Considering glue-down LVT with underfloor heating? This guide explains how it performs, what preparation is required, and the temperature limits that must be followed.

Caring for Wood Flooring – Engineered & Solid Wood Maintenance Guide
Wood floors age best with the right care routine. Learn how to maintain engineered and solid wood without damaging the finish.

What is Parquet Flooring? Types Explained (Plus Real-Life Tips)
Parquet flooring comes in more styles than most people realise. Explore popular patterns and practical tips before choosing.
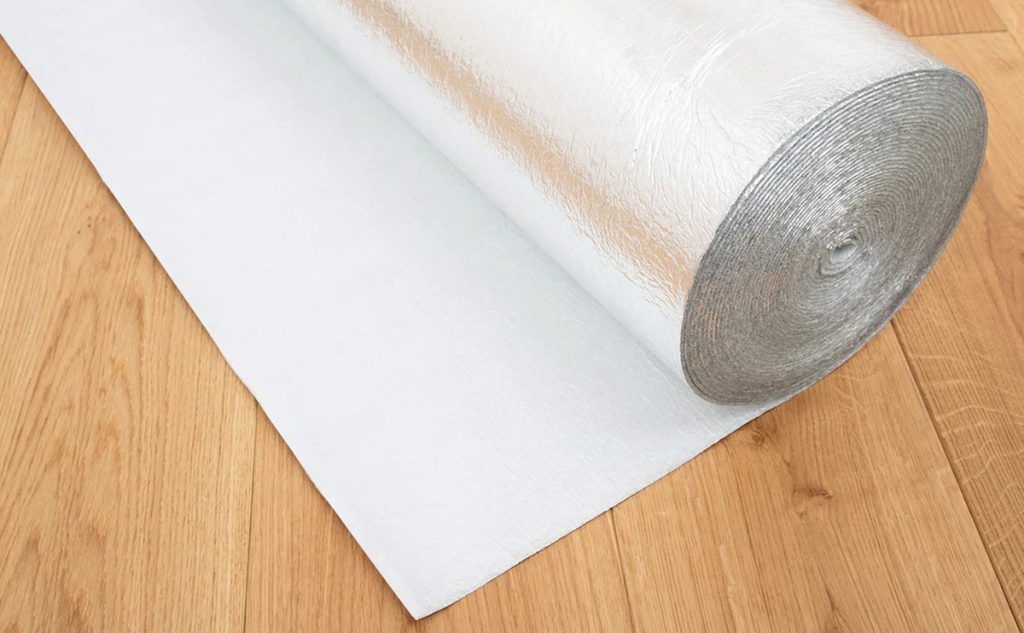
Flooring Underlay: Types, Benefits, and Installation Tips
Underlay plays a bigger role than many expect. Learn which type to use and how it improves comfort and performance.

Subfloor Preparation Guide: How to Prepare Floors for Wood, Laminate & LVT
Most flooring problems start below the surface. Learn why proper subfloor preparation is essential for long-term performance.

How Long Does Wood Flooring Last? Unlocking the Secrets of Timeless Wooden Floors
Wood flooring can last for decades when chosen wisely. Learn what affects lifespan for solid and engineered boards.

Solid or Engineered Parquet Wood Flooring; Which Option Is Better?
Solid and engineered parquet each have strengths. Compare stability, installation, and long-term performance.

How to Install Parquet Blocks with the One Tongue and Three Grooves System
Traditional parquet systems require precision. Learn how the one tongue, three grooves method works in practice.

Ultimate Guide to Measuring Your Room for Flooring – Step by Step
Accurate measurements prevent wasted money and delays. Learn how to measure rooms properly before ordering flooring.
 White
White
 Invisible
 Natural
 Golden
 Brown
Brown
 Grey
Grey
 Black
Black
